How to Remove a Rear Bike Wheel
By Cal WhitmoreUpdated 6 min read
The short answer
Shift into the smallest rear sprocket while pedalling, release the brake, then open the quick-release or thru-axle. Pull the rear derailleur back and down, and the wheel drops clear of the chain.
Key takeaways
- Shift to the smallest sprocket before you touch anything. It gives the chain maximum slack and puts the derailleur at its outermost position.
- You pull the derailleur back, not the wheel forward. The cage is on a sprung pivot and swings out of the way easily.
- Getting it back in is the fiddly half — lay the chain over the small sprocket before pushing the axle up into the dropouts.
- Check the axle is fully seated in both dropouts. A rear wheel sitting even slightly crooked will rub the brake and shift badly.
The rear wheel has a reputation for being awkward, and the reputation is only half deserved. Everything difficult about it comes from the chain and derailleur, and both become cooperative if you do one thing first: shift into the smallest sprocket. Skip that and you will be wrestling. Do it and the wheel practically falls out.
Shift first
With the bike upright and the rear wheel off the ground, turn the pedals and shift the rear derailleur all the way to the smallest sprocket — the one furthest outboard, nearest the frame's drive side. This does two useful things. The chain now sits on the smallest diameter, which gives it the most slack. And the derailleur cage is at its outermost, lowest-tension position, so it swings out of the way with almost no effort.
Release the brake
| Brake | What to do |
|---|---|
| Caliper (road) | Flip the small quick-release lever on the caliper body |
| V-brake | Squeeze the arms together and unhook the noodle from its cradle |
| Cantilever | Squeeze the arms and unhook the straddle wire |
| Disc (mechanical or hydraulic) | Nothing — the rotor slides out of the caliper with the wheel |
| Coaster / hub brake | Undo the reaction arm clamp from the chainstay |
If the tire still will not clear the pads with the brake open, let the air out. More detail on pad clearance is in our guide to adjusting bike brakes.
Getting the wheel out
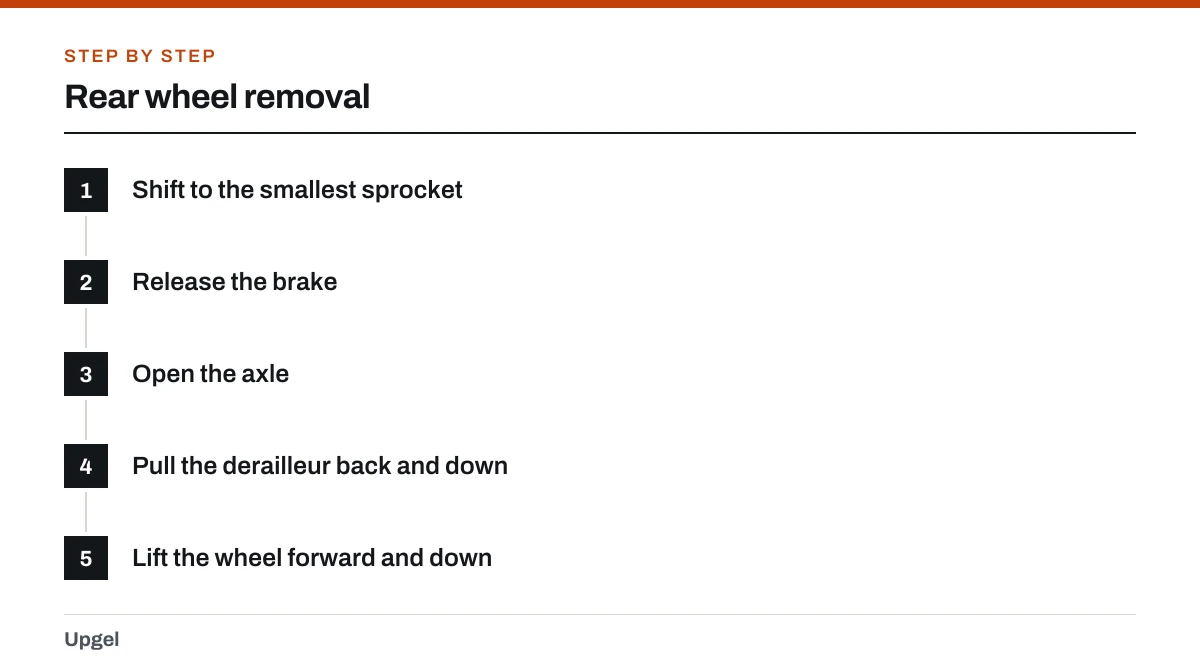
Rear wheel removal
Shift to the smallest sprocket
As above. This is the step that makes the rest easy.
Release the brake
Or do nothing if you have disc brakes.
Open the axle
Flip the quick-release lever and unscrew a few turns, or fully unthread and withdraw a thru-axle. Rear dropouts usually have no retention tabs, so a QR often only needs opening.
Pull the derailleur back and down
Grip the derailleur body — not the cage plates — and rotate it rearwards. The upper jockey wheel moves away from the sprockets and the chain opens up.
Lift the wheel forward and down
With the derailleur held back, the wheel clears the chain and drops out of the dropouts. Guide a disc rotor out of the caliper slot.
Putting the rear wheel back
This is where people struggle, almost always because they try to push the wheel into the dropouts and hope the chain sorts itself out. Do it the other way round: place the chain first, then the wheel.
Refitting
Hold the derailleur back again
Same grip, same direction. Keep it there while you position the wheel.
Lay the chain over the smallest sprocket
Drape the upper run of chain onto the smallest cog before the axle goes near the dropouts. This is the whole trick.
Guide the axle into the dropouts
Slide it up and back until the axle is hard against the top of both dropout slots. Let the derailleur go.
Check it is square
Look from behind: the tire should sit centrally between the chainstays and seatstays. If it is off to one side, the axle is not fully seated on one side.
Close the quick-release properly
Firm resistance from the halfway point, closed with your palm, lever pointing back or up — never forwards.
Reconnect the brake and test
Reattach the noodle or straddle wire, spin the wheel for rub, then squeeze the lever hard before you ride.
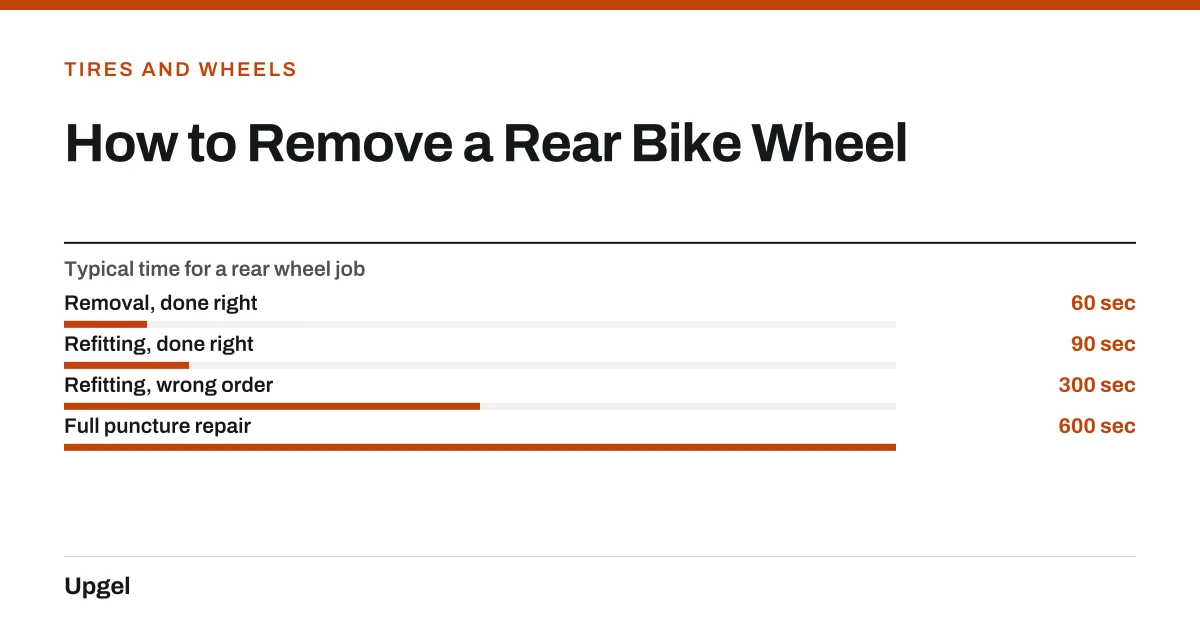
- Removal, done right60sec
Shift, release, open, pull derailleur, lift out.
- Refitting, done right90sec
Chain on small cog first, then axle.
- Refitting, wrong order300sec
Fighting the chain into place with the wheel half-seated.
- Full puncture repair600sec
Including finding the cause and refitting the tire.
Front wheels are simpler and follow different rules around retention tabs — that is covered in removing a front bike wheel. If the reason you took the wheel off was a puncture, carry on with fixing a flat bike tire.
Frequently asked questions
Do I need to shift gears before removing the rear wheel?
Yes, and it makes the biggest difference of anything. Shifting to the smallest sprocket gives the chain maximum slack and puts the derailleur where it swings clear most easily.
How do I get the rear wheel past the chain?
Grip the derailleur body and rotate it backwards and down. That opens the chain path completely, and the wheel lifts out without the chain needing to be touched.
Why won't my rear wheel go back in straight?
The axle is not fully seated in one of the dropouts. Push the wheel up and back firmly on both sides before closing the quick-release, and check the tire sits centrally between the stays.
Do rear wheels have lawyer lips like front wheels?
Usually not. Rear dropouts generally have no retention tabs, so a rear quick-release often only needs the lever opening rather than several turns of the nut.
Sources
- Derailer Adjustment — Sheldon Brown
Supports: Why the smallest sprocket position gives maximum chain slack and the derailleur cage its least sprung tension.
- Bicycle Brakes — Sheldon Brown
Supports: How each rear brake type is released so an inflated tire can pass the pads.
- 16 CFR Part 1512 — Requirements for Bicycles — eCFR, US Government
Supports: Section 1512.12(a), that wheels must be secured to the frame with a positive lock device.