How to Replace a Bike Chain
By Cal WhitmoreUpdated 8 min read
The short answer
Replace at 0.5% wear for 11-speed and above, or 0.75% for 10-speed and below. Buy a chain matching your speed count, size it around the largest ring and sprocket plus two links, and join it with a quick link.
Key takeaways
- Replace at 0.5% stretch on modern narrow chains. Leave it to 1% and you will be buying a cassette as well.
- Speed count must match. An 11-speed chain is narrower than a 9-speed one and they are not interchangeable.
- Size the new chain against the old one if the old length was correct — it is the fastest reliable method.
- Join with a quick link. It is stronger than a reused rivet and makes every future clean far easier.
Chains wear out. Not by stretching — the steel does not actually elongate — but by the pins and bushings wearing against each other so that each link sits fractionally further apart than when new. Multiply that fraction by 114 links and the chain no longer matches the tooth spacing of the sprockets it runs on. That mismatch is what wrecks cassettes.
Knowing when to replace it
A chain checker is a small gauge that drops into the chain and reads the wear as a percentage. They cost very little and remove all guesswork. Modern narrow chains need replacing sooner than older wide ones, because there is less material to lose.
| Speeds | Replace at | If you leave it |
|---|---|---|
| 12-speed | 0.5% | Cassette wear accelerates sharply past this |
| 11-speed | 0.5% | Same — narrow chains have little margin |
| 10-speed | 0.75% | Slightly more tolerant |
| 8- and 9-speed | 0.75% | Robust, but 1% still means a new cassette |
| Singlespeed / hub gear | 1% | Much more forgiving, wider chain |
- No chain checker? Use a steel ruler. Measure from the centre of one rivet to the centre of the rivet 24 links along. On a new chain that is exactly 12 inches. At 12 1/16 inches the chain is worn out.
- Skipping under load, particularly in the smaller sprockets, usually means the chain is already past it.
- A chain that lifts noticeably away from the largest chainring when you pull it is very worn.
- Check wear at each clean, which is roughly the right frequency — see cleaning a bike chain.
Buying the right chain
The single thing that must match is the speed count of your rear cassette. Count the sprockets. An 11-speed chain is around 5.5 mm across the outer plates; a 9-speed is around 6.6 mm. Fit the wrong one and it will either not fit between the sprockets or will shift appallingly.
- Match the speed count exactly: 8, 9, 10, 11 or 12.
- Brand does not have to match, with some exceptions at 12-speed where designs diverge more.
- Chains come in different lengths — usually 114 or 116 links. Buy one at least as long as you need; you will shorten it.
- Buy a spare quick link at the same time, in the matching speed.
- Directional chains exist. If the outer plates carry a logo or the packaging says so, fit it the right way round.
Sizing the new chain
Chain length matters more than people expect. Too short and the derailleur is over-extended in the big-big combination, which can tear the derailleur off. Too long and it sags, shifts poorly and can drop off the chainring.
Two reliable methods
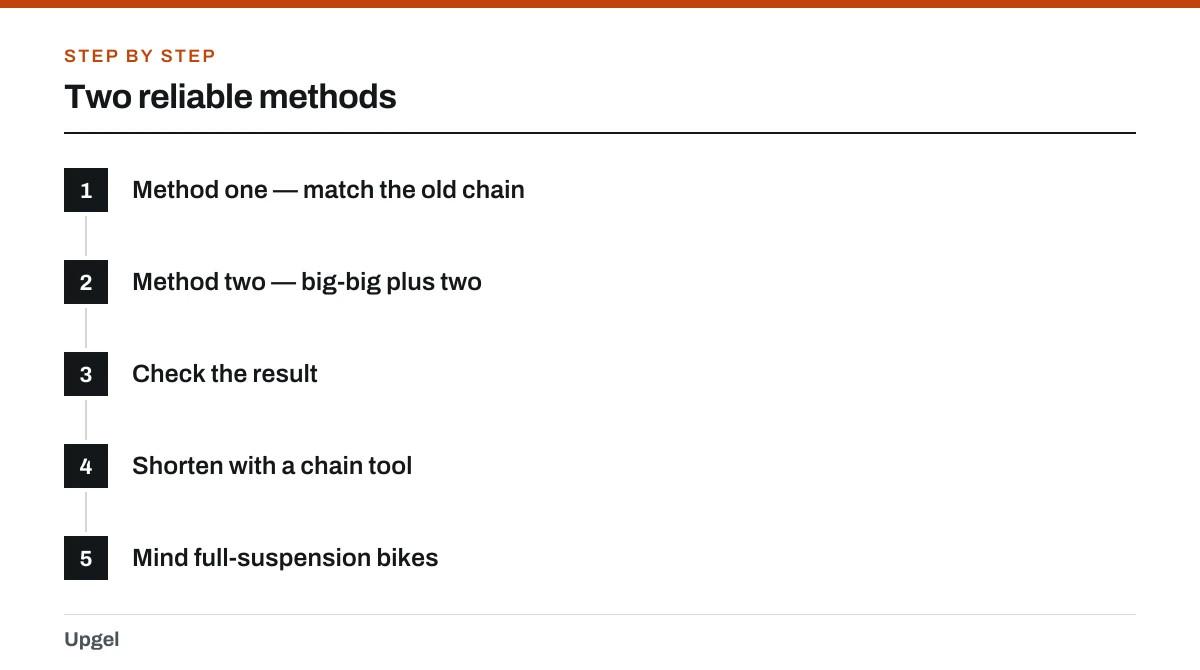
Method one — match the old chain
Lay the old chain alongside the new one on a bench, line up an end, and count. Only use this if the old chain was the correct length and is not so worn that the accumulated difference matters over 114 links.
Method two — big-big plus two
Route the new chain over the largest chainring and the largest rear sprocket, bypassing the rear derailleur entirely. Pull the ends together until they just meet, then add two links — one inner and one outer.
Check the result
Fit the chain properly through the derailleur. In the big-big combination the derailleur cage should be stretched but not straining. In small-small it should not sag against itself.
Shorten with a chain tool
Push the pin out at the link you have chosen. The technique is in removing a bike chain, and shortening specifically is covered in removing a chain link.
Mind full-suspension bikes
Suspension movement can lengthen the chainstay. Compress the suspension fully before measuring, or size to the manufacturer's instructions.
Fitting and joining
Installation
Thread it through the derailleur
Route the chain over the chainring, along the top of the chainstay, over the cassette, then down through the rear derailleur cage — inside the upper jockey wheel, around and under the lower one. Getting this wrong is very common; look at a photo of your derailleur before starting.
Shift to smallest ring and smallest sprocket
Maximum slack, easiest joining.
Bring the ends together on the lower run
Use a chain hook, or a bent spoke, to hold the two ends against spring tension while you join them.
Fit the quick link
Slot both pins through the keyholes, then pull the chain apart firmly, or stand on the pedal against the brake, until it clicks home. It must click.
Check it seated
The quick link should look exactly like the links either side, flat and flush. Flex it — it should articulate freely.
Test through the gears
Turn the cranks and run through every gear slowly by hand before riding.
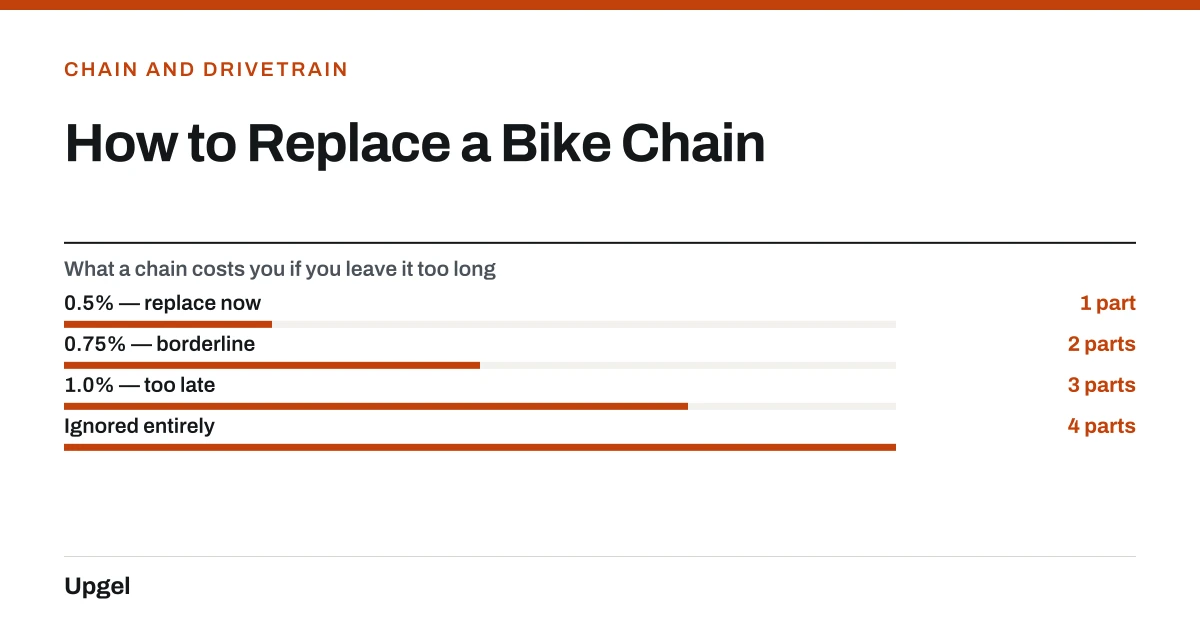
- 0.5% — replace now1part
Chain only. The whole reason to measure.
- 0.75% — borderline2parts
Chain, and the cassette may already skip.
- 1.0% — too late3parts
Chain and cassette, often chainrings too.
- Ignored entirely4parts
Add a derailleur if the chain snaps into it.
Once it is on, lube it before the first ride — factory grease is packing grease, not chain lube. The intervals are in how often to lube a bike chain.
Frequently asked questions
How do I know when my bike chain needs replacing?
Use a chain checker: replace at 0.5% wear for 11- and 12-speed, 0.75% for 8- to 10-speed. With a ruler, 24 links should measure 12 inches rivet-to-rivet; at 12 1/16 inches it is finished.
How long does a bike chain last?
Typically 1,500 to 3,000 miles depending on conditions and how well it is cleaned and lubed. Wet, gritty riding can halve that.
Can I use any chain on my bike?
It must match your drivetrain's speed count, because chain width narrows as speeds increase. Brand can usually differ, though 12-speed systems are less interchangeable.
Do I need to replace the cassette with the chain?
Not if you replace the chain on time. If you have run the chain past about 1% wear, the cassette has almost certainly worn to match and a new chain alone will skip.
Sources
- Chains — Sheldon Brown
Supports: The 24-link / 12-inch ruler measurement, wear thresholds, and why worn chains damage sprockets.
- Effects of the Nonlinear Elastic Behavior of Bicycle Chain on Transmission Efficiency — Journal of Applied Mechanics · DOI 10.1115/1.4007431
Supports: That chain pitch and articulation behaviour under load govern how the chain engages sprocket teeth.
- A novel model for bicycle drivetrain efficiency — Sports Engineering · DOI 10.1007/s12283-025-00505-8
Supports: That drivetrain condition and configuration affect measured efficiency.