How to Remove and Install a Bike Tire
By Cal WhitmoreUpdated 7 min read
The short answer
To remove, deflate completely and push both beads into the deep centre channel of the rim before using levers. To install, mount one bead by hand, fit the tube, and roll the second on with your thumbs.
Key takeaways
- The centre channel is the whole trick. A rim is deeper in the middle, and pushing the bead into it is what creates enough slack to work with.
- Two plastic levers is right. If you need a third, the bead is not in the channel.
- Never use a screwdriver or steel lever. It will gouge an alloy rim and can crack a carbon one.
- Tight tire and rim combinations are real. Warmth, soapy water on the bead and starting opposite the valve all genuinely help.
Some tire and rim combinations go together like a sock. Others feel like they were manufactured on different planets. The difference between the two is usually not the components — it is whether you are using the rim's centre channel. Once you understand that, most tires that felt impossible become merely annoying.
Why the centre channel matters
A clincher rim is not a flat-bottomed U. It has two raised shoulders where the tire bead sits under pressure, and a deeper well between them. A tire bead is essentially a fixed-length loop of steel or aramid — it does not stretch meaningfully. The only way to get slack is to move part of that loop into the deeper well, which shortens the effective circumference it has to cover.
Removing the tire
Getting the bead off
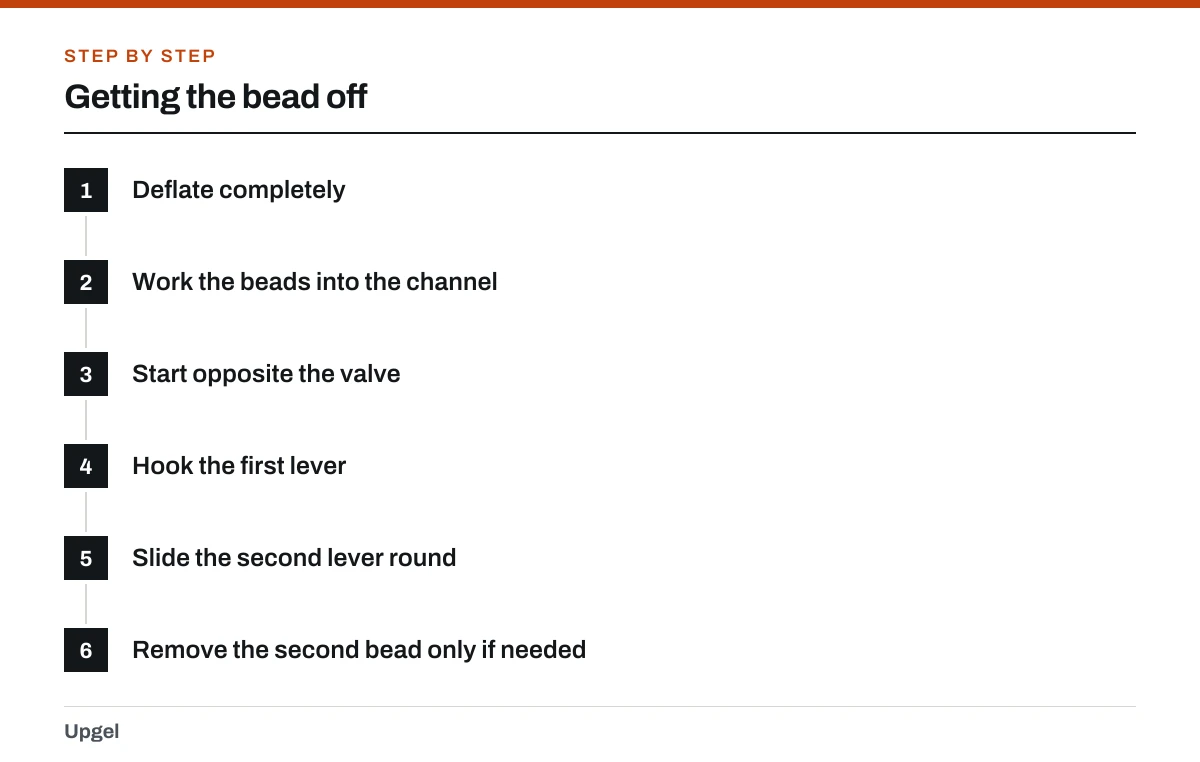
Deflate completely
Not mostly — completely. Press the valve and squeeze the tire flat all the way round. Residual pressure holds the bead hard against the shoulder.
Work the beads into the channel
Grip the tire with both hands and squeeze both sidewalls towards the centre of the rim. Move around the whole wheel doing this.
Start opposite the valve
The valve stem takes up space in the channel, so the slack is greatest at the far side of the wheel.
Hook the first lever
Slide it under the bead, lever the bead over the rim edge and clip the lever's notched end to a spoke to hold it there.
Slide the second lever round
Insert it two or three inches away and run it around the rim. Once a hand's width of bead is over the edge, the rest comes off by hand.
Remove the second bead only if needed
For a tube swap you can leave it on. For a tire replacement, lift the whole casing off by hand once the first side is free.
| Lever type | Safe on alloy | Safe on carbon | Notes |
|---|---|---|---|
| Moulded plastic (nylon) | Yes | Yes | The standard. Cheap, and snaps before it damages a rim. |
| Reinforced composite | Yes | Yes | Stiffer for tight beads, still rim-safe. |
| Steel lever | No | No | Gouges the rim shoulder. Sold for motorcycles, not bicycles. |
| Screwdriver | No | No | Damages the rim and punctures the tube. Never use one. |
| Bead jack | Yes | Yes | Purpose-made for very tight combinations; applies force safely. |
Installing the tire
Installation is the reverse, with one significant difference: levers are far more dangerous here because there is a tube behind the bead. The goal is to fit the entire second bead with your thumbs.
Fitting without tools
Check tire direction
Many tires have a rotation arrow on the sidewall. Rear-specific and front-specific tread patterns exist too — fit them the way the label says.
Mount the first bead by hand
It should drop on with no tools at all. If it does not, check you have the right size.
Fit the tube slightly inflated
Two or three strokes, as described in the inner tube guide. Seat the valve square through the rim hole first, then work the tube in all the way round.
Start the second bead at the valve
Push the bead over the rim edge on both sides of the valve, then work outwards in both directions.
Keep pushing the fitted bead into the channel
Every few inches, go back and squeeze the already-seated section towards the middle of the rim. This is what buys you the slack for the final stretch.
Finish the last section with your palms
Roll the bead over the rim edge with the heels of your thumbs, pushing away from you. If you are genuinely stuck, deflate fully and repeat the channel step.
When the tire is genuinely too tight
- Warm it up. A tire left in the sun or a warm room for twenty minutes is noticeably more compliant than one from a cold garage.
- Use a little soapy water on the bead. It lets the bead slide into position rather than gripping halfway.
- Check your rim tape is not too thick. A double wrap of thick tape effectively fills the channel you need.
- Consider a bead jack for known-tight combinations. It is a purpose-made tool that applies force where a lever would damage things.
- As an absolute last resort, use a lever for the final two inches — but deflate the tube completely first so it cannot be caught.
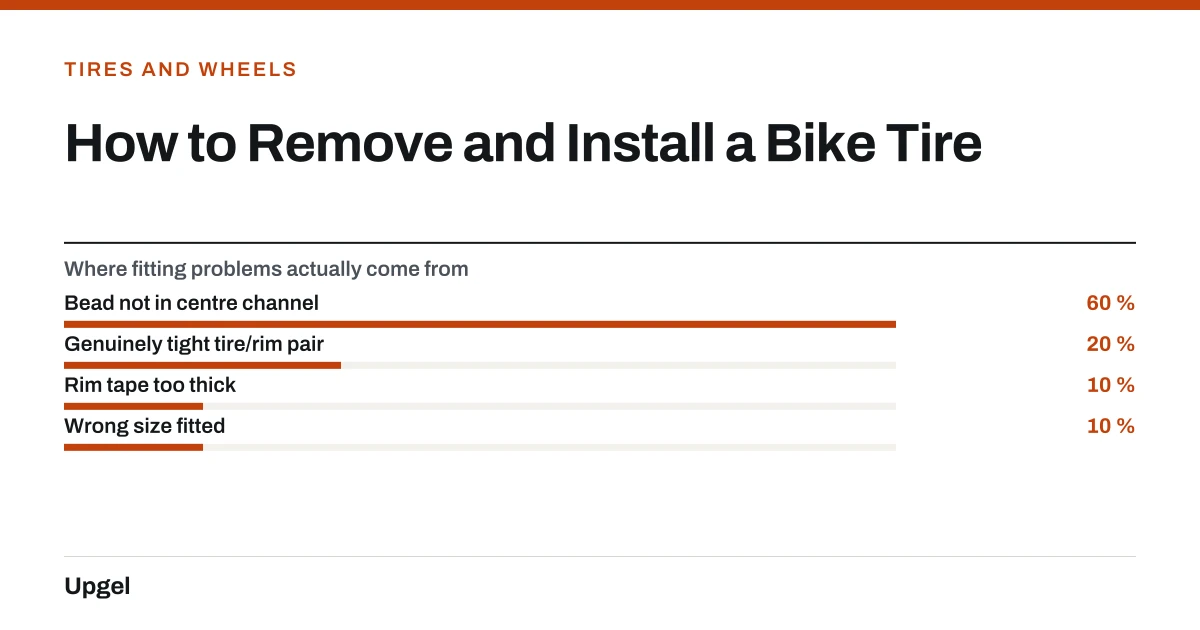
- Bead not in centre channel60%
The overwhelming cause. Fixed by technique, not tools.
- Genuinely tight tire/rim pair20%
Real, but rarer than people assume.
- Rim tape too thick10%
Fills the channel you need for slack.
- Wrong size fitted10%
Check the ETRTO numbers match.
Checking your work
Inflate to about half the target pressure and look at the moulded bead line just above the rim edge. It should be a constant distance from the rim all the way around, on both sides. A section that dips means the bead has not popped up onto the shoulder; a section that bulges means the tube is trapped underneath. Either way, deflate and fix it before going to full pressure.
If you are doing this because of a puncture, our guide to fixing a flat bike tire covers diagnosing the cause, and the full walkthrough on changing a bike tire covers wheel removal and refitting.
Frequently asked questions
Why is my bike tire so hard to get on?
Almost always because part of the bead is sitting on the rim shoulder instead of in the deep centre channel. Deflate fully, squeeze the fitted bead into the middle of the rim all the way round, and try again.
Can I use a screwdriver as a tire lever?
No. A screwdriver will gouge an alloy rim, damage a carbon one, and is very likely to puncture the tube. Plastic tire levers cost very little and are shaped to hook the bead safely.
Does it matter which way a bike tire faces?
If there is a rotation arrow on the sidewall, yes — fit it pointing in the direction of travel. Some tires also specify front or rear. Symmetrical tread patterns without arrows can go either way.
Should I use tire levers to install a tire?
Try not to. Levers on installation are the single most common cause of pinching a brand-new tube. If you must, deflate the tube completely first so there is nothing to trap.
Sources
- Tires and Tubes — Sheldon Brown
Supports: Rim centre-channel geometry, bead seating, and the half-pressure bead line check.
- Tire Sizing Systems — Sheldon Brown
Supports: Verifying tire and rim compatibility by ETRTO number when a tire seems impossibly tight.
- Flat Tire Prevention and Repair — Sheldon Brown
Supports: Why levering against the tube during installation causes immediate punctures.